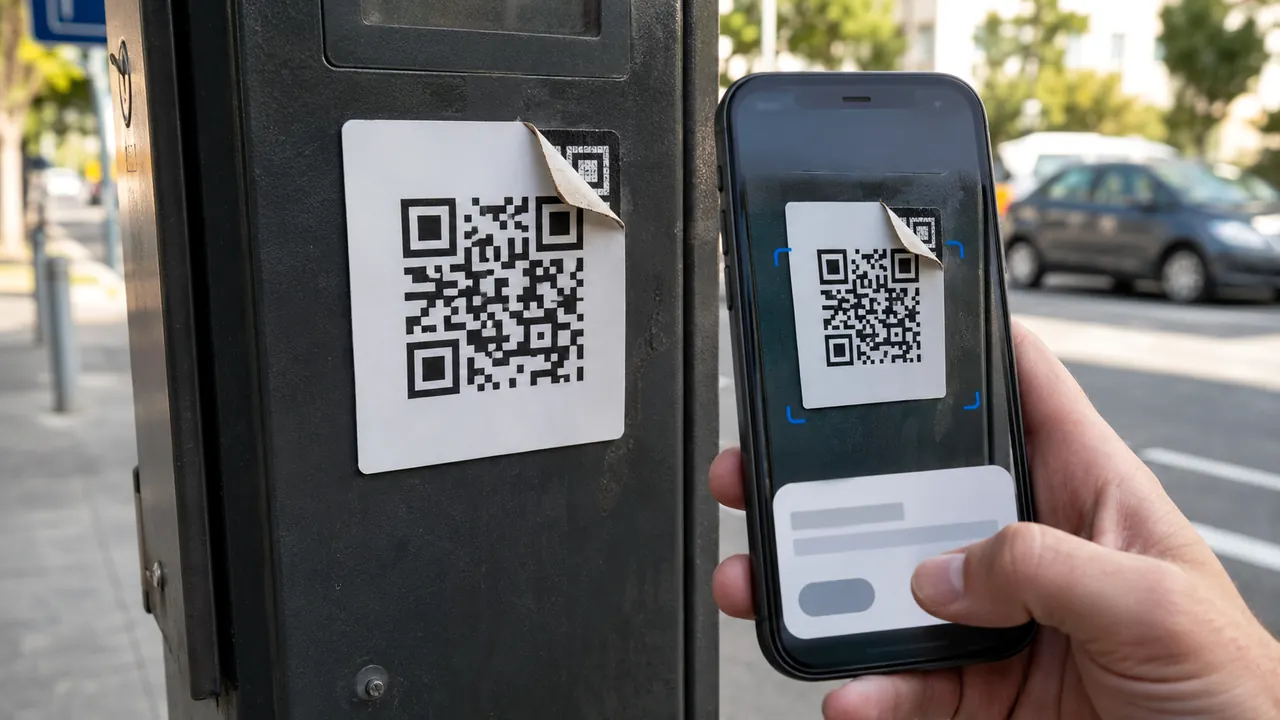
Do not use a link or phone number in an unexpected sign-in alert. Open the provider's saved app or type its address yourself, then check whether the event appears in the account. The alert may be real while the message carrying it is fake.
Start inside the account
- Save the alert without acting through it. Note the account, time, device, browser or app, and location shown.
- Open the provider independently. Use a saved app, bookmark, or address you already know. Do not search for a support number from the alert.
- Find recent security activity. Compare the account record with the alert before deciding what happened.
Google, Apple, and Microsoft all provide account-side ways to review or reject unfamiliar activity. Menu names differ, and work or school accounts may use an organization's own controls.
Location is a clue, not proof
| Detail | What to compare | Why it can mislead |
|---|---|---|
| Time | When you signed in, unlocked a device, or connected an app | Background sync can create activity you did not notice |
| Device and software | Phone or computer, operating system, browser, and app | One device can create several sessions or show a generic label |
| Location | Where you were, including travel, VPN use, and network changes | Providers infer location from an IP address; mobile routing can show a nearby or different place |
| Action | Sign-in, password or recovery change, new device, or app access | A familiar location does not make an unfamiliar security change safe |
Do not dismiss an event only because the city looks familiar, and do not conclude that an account was stolen only because the map is wrong. An unfamiliar device plus an unexplained security change is stronger evidence than location alone.
Choose the branch that matches the evidence
It was you
If the time, device, software, and action match what you did, record why the alert appeared—for example a new browser, trip, VPN, or mobile network. Keep watching if alerts repeat without a matching action.
You are not sure
Leave the alert link alone. Check another trusted device, the provider's activity page, and recent security changes. If you still cannot explain the event, treat it as not yours and use the account's security route.
It was not you
- Use the provider's rejection or security control. Google offers a “No, secure account” route; Apple sign-in requests offer “Don't Allow”; Microsoft unusual-activity review offers “This wasn't me” or “Secure your account.”
- Change or reset the password through the official account page. Use a unique password and correct recovery information you do not recognize.
- Review devices and sessions. Remove unfamiliar access, but keep a trusted recovery session available until you know your recovery methods work.
- Escalate if the account is already changing. If you see unfamiliar recovery details, mailbox rules, purchases, or messages, follow the first-hour takeover checklist.
Provider-specific checks
| Provider | Where to verify | Important caveat |
|---|---|---|
| Google Account security alerts, recent security activity, and Your devices | A device can show several sessions; the shown time can include background sync, and location may be nearby rather than exact | |
| Apple | The sign-in request on a trusted device, then account.apple.com and the device list | The alert map is approximate and based on the network's IP address, not the device's exact location |
| Microsoft personal | The Recent activity page, then the unusual-activity security route | Recent activity covers the last 30 days; mobile routing can make location inaccurate |
Microsoft's sign-out-everywhere control can take up to 24 hours and does not sign out Xbox consoles. Apple's device removal and “Sign Out Of All Browsers” controls cover different access, so do not treat either as proof that every session ended instantly.
Know when this check is finished
The immediate alert is resolved when you can explain the event or have marked it as unfamiliar, protected the sign-in route, reviewed devices and recovery details, and saved a short record of what changed. Continue with the broader recovery guide if access was lost or persistence appeared.
For prevention after the incident, build an account recovery plan, review which security alerts to enable, and compare two-factor methods.